

How To Make Your Vintage Book Prints
I’ve been seeing these book prints around a lot lately. They’re all over Pinterest and the rest of the internet. You can even buy them on Etsy from $5 to $15. Well, I’m a little cheap, and I figured I could probably make my own. Long story short I figured out how to quickly and easily make my own vintage dictionary art print.
Time: 10 – 25 min.
– Example –
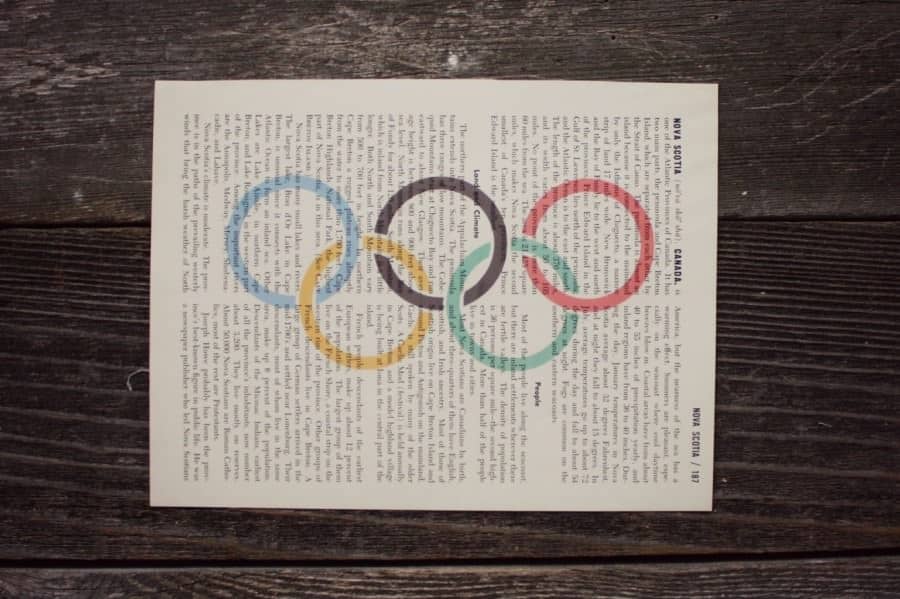
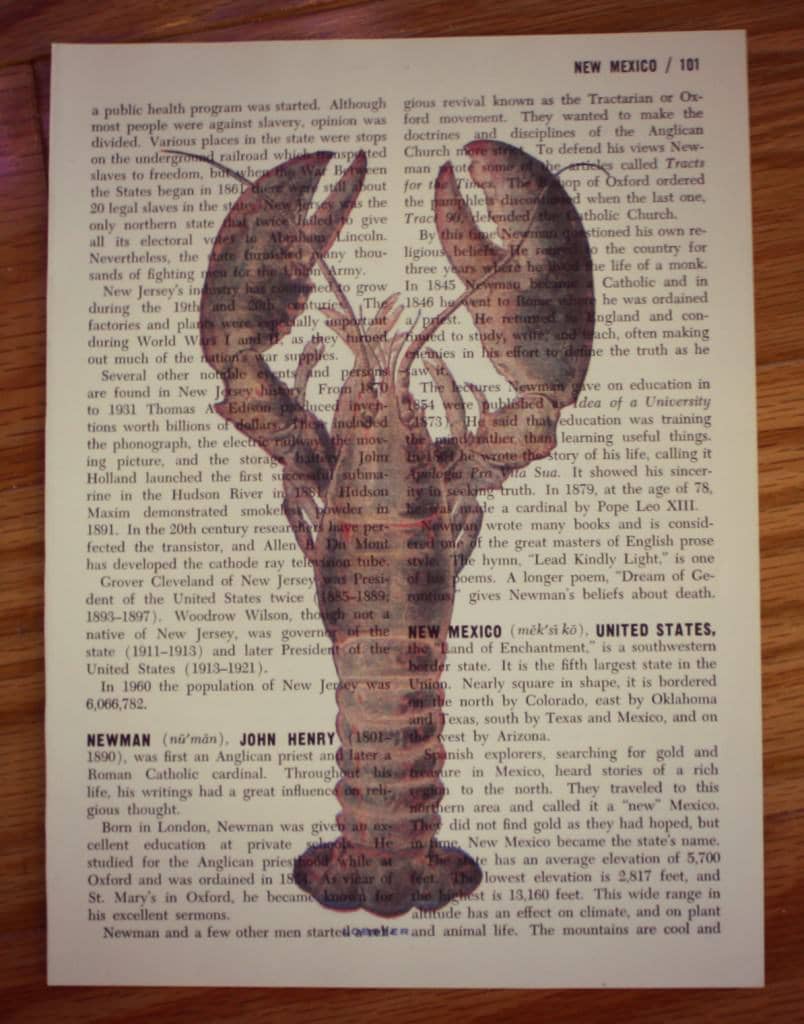
Here’s my latest book page print in honor of the Olympics. I got the image from wikipedia.

– What You’ll Need –
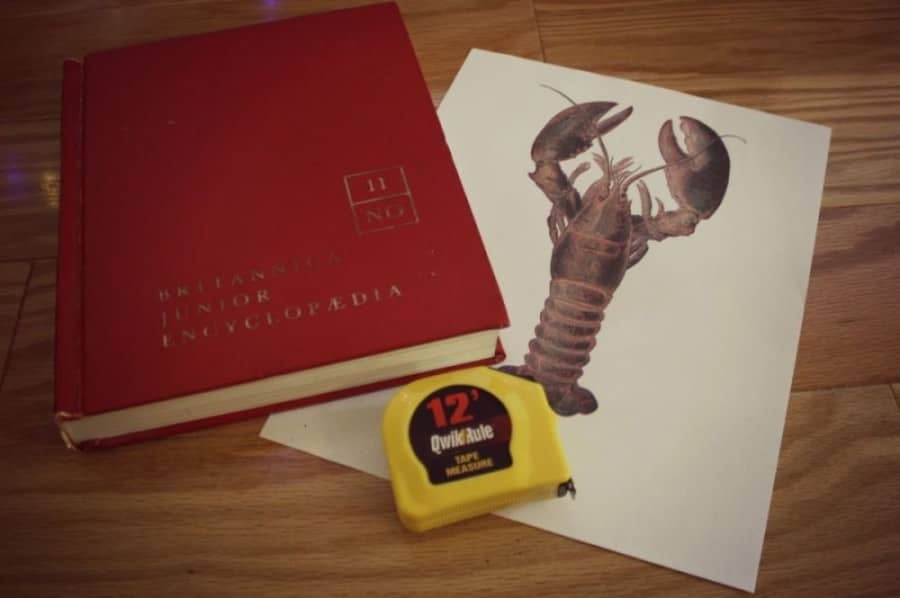
- 1 old book
(dictionary, encyclopedia, or something else awesome) - 1 image for printing
(try VintagePrintable.com) - Image editing software
(I like PicMonkey.com it’s free and easy) - razor blade and/or scissors
- ruler or tape measure
- A decent printer
– Step One –

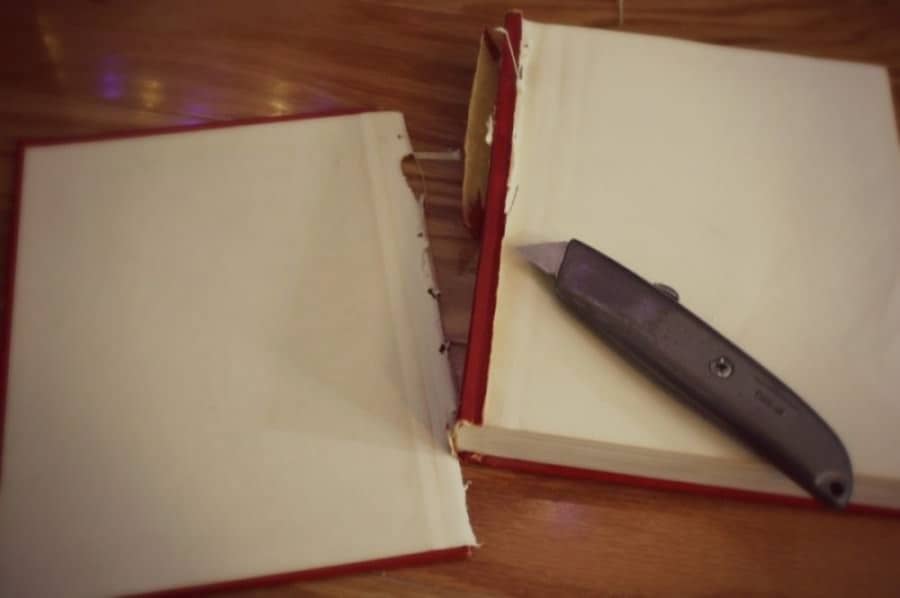
 Disassemble Your Book
I’ve found that the easiest way to do this for larger books like encyclopedias and dictionaries is to remove the cover and spine of the book. This will expose the bindings and make it much easier to take apart the book.
– Step Two –
 Cut The Cords
Most larger books, like the encyclopedia I am using, are held together by string threaded through the pages of the book. In this encyclopedia there were also two large staples through the entire book as well.
Carefully cut the strings with a pair of scissors, a small knife, or a razor blade. Then if you happen to have staples like I did, remove it like you would a regular staple. Bend the prongs upward and then pull the staple out through the front. You might have to use some pliers to do this.
– Step Three –
 Pull Out One Page
Pages are bound in several pages together which are then folded and bound. Find one the folded sections and separate it from the rest of the book. It is then easy to unfold the section, and remove each page.
– Step Four –
 Trim The Page
Take a ruler or a tape measure and measure the margin on the outside edge of the page. Then measure the bound side of the page. Mark the page top and bottom, and draw a line to trim the page.
Use a paper cutter or, if you have a steady hand, a pair of scissors to trim along the line you have drawn giving you a nice page with even margins.
Measure your page, both the width and height of the page. These dimension will come in handy when you are formatting your image for printing.
– Step Five –

 Find An Image
Find yourself and image that you would like to print. I’ve found a lot of really great images ready for printing on Vintage Printable, or you can just google around until you find an image you like.
Unless you want to do a lot of image editing (which we won’t get into here in this post), you want an image that has a white background.
Keep in mind that any white area in the image you select is an area where nothing will be printed, in other words, white won’t be printed.
– Step Six –
Prepare The Image (Don’t worry its easy!)
 Next open the image that you have chosen, in my case this lobster in your favorite image editing program. PicMonkey is a great, free, and easy online image editor that I’ve found is perfect for this sort of thing.
Crop
Crop your images to remove anything from the picture that you don’t want. This is a great way to remove borders and change the proportions of you image.
Erase
Depending on what editing software you’re using you can either use the eraser tool, or simple paint over the sections of the image that you want to hide. In the case of PicMonkey click on the beaker icon on the left side of the page, scroll down to the drawing tool. Make sure the selected color is white.
Adjust the size of the brush so that it is the right size to remove whatever section of the image you want. You can then adjust the hardness of the brush, this allows you to blend the edges of what you are removing so there aren’t hard edges from where you are removing sections of the image.
You can use this method to remove small sections of the image such as text or fade out and remove sections of the image. For this lobster image I removed the text in the lower right hand corner of the image by drawing over it with white using this method.
 Tweak
Tweak
This might take a little trial and error to get right so be patient because it will make a big difference with how well your final image comes out.
Select the funny looking icon on the top left with four circles which will take you bake to basic editing. Here you can adjust the Exposure and Colors of the image. Play around with the setting under Exposure. Try raising and lowering the different settings here until you get a strong bold image without losing too much detail. Then do the same with the Color settings until you are happy with the look of the image.
Keep in mind that you are printing over black text so you want to make sure that your image will stand out over all that black text.
Now save your image in the highest quality that PicMonkey will let you.
As you can see in the lobster image on the right and compare it to the one earlier in the post you can see that I have removed the blue text from the bottom of the image I will be printing.
– Step Seven –
Layout The Image
Open up your favorite word processor such as Word, or you can use free alternatives such as Libre Office or Open Office.
This will vary depending on what word processing software you’re using. Adjust the size of your page in the page formatting settings of your software. Change the dimensions of your page to match the measurements of the dictionary page that you took earlier.
Then tweak the layout of your page until the image is laid out how you want it to appear when printed. I chose to simply center the lobster on the page.
Once you’re happy print a test page. Pay attention to the orientation of the page when it prints so you know how to run your book page through the printer. Most likely you will need to put your book page into the print upside down and top first.
Align the book page with the bottom of the test print page centering it as you do. Hold it up to a window, or a light to see if the image lines up properly on the page.
If everything looks good load your book page into the printer, and go for it.
– Step Eight –

 Print Time
You might have to do some testing here. It will take a little bit of trial and error to get the setting on your document right.
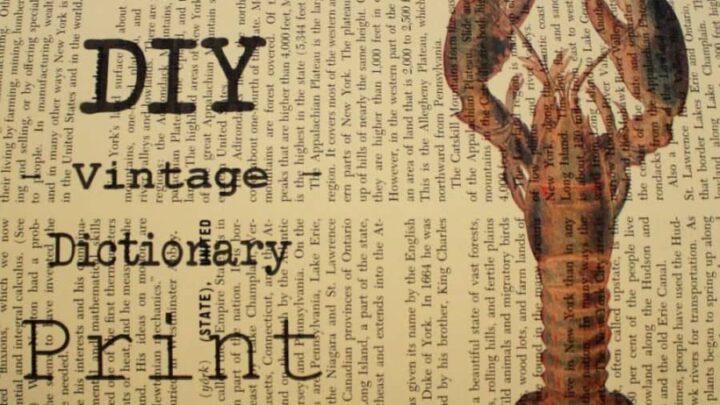
Once your image is printed it should look something like this. My lobster wasn’t perfectly centered, but it came out pretty close, at least close enough for me.[spacer]
– My Results –
Well what do you think? The lobster was the very first time I’ve tried to make a book print like this, and as far as I’m concerned it turned out awesome. I’ve tried a couple of other images too with mixed results, but I think I just need to spend a little more time tweaking the image with PicMonkey before printing.
Below are a couple of other prints that I made while playing around with making book prints. I’m still the happiest with the lobster print. I think that it might look a lot better because it is in color which helps it to stand out from the text on the page.
I’ll keep playing around with this, and you should too!


Now you go give it a shot and let me know how it turns out in the comments bellow.
If you liked this post please like it, pin it, or share it any other way you like!
-Lance
How To Make Dictionary Art Prints

How to turn your old vintage dictionary, encyclopedia, or book pages into a diy wall art.
Materials
- 1 Old Book
- 1 Image for Printing
Tools
- Image Editing Software
- Razor Blade and/or Scissors
- Paper Cutter
- Ruler or Tape Measure
- A Decent Printer
Instructions
 Remove front cover, back cover, and spine from book.
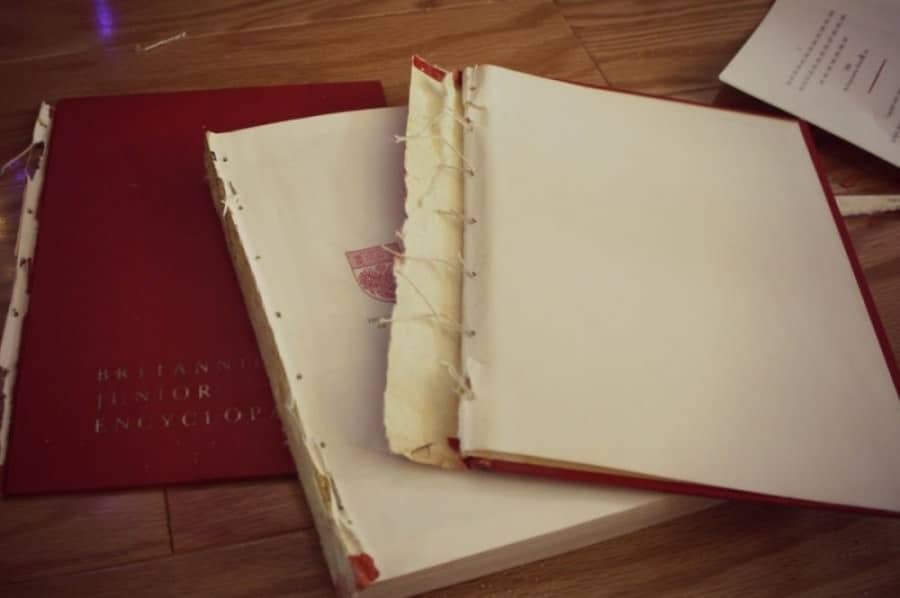 Cut through binding strings and remove any staples if present.
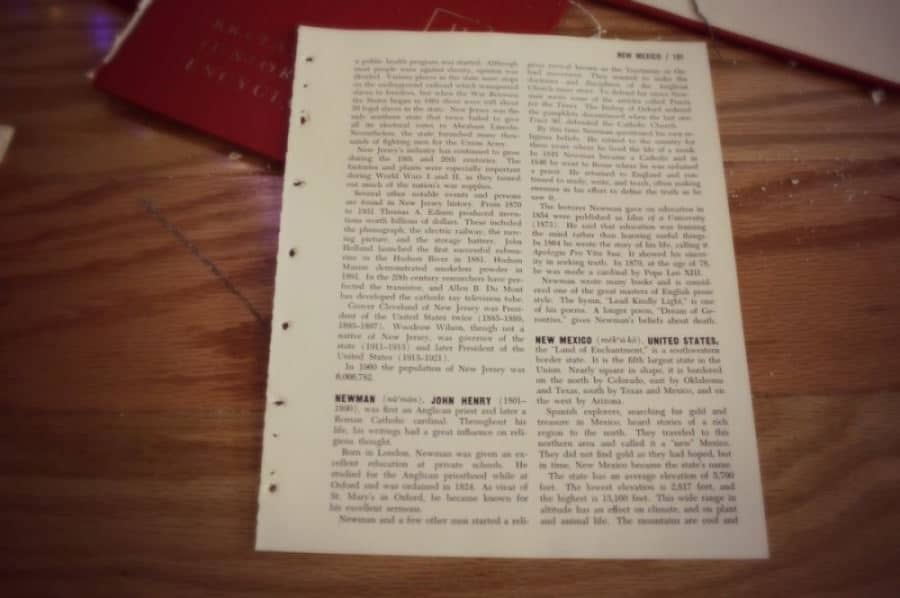 Remove one section or bundle of pages and separate one page.
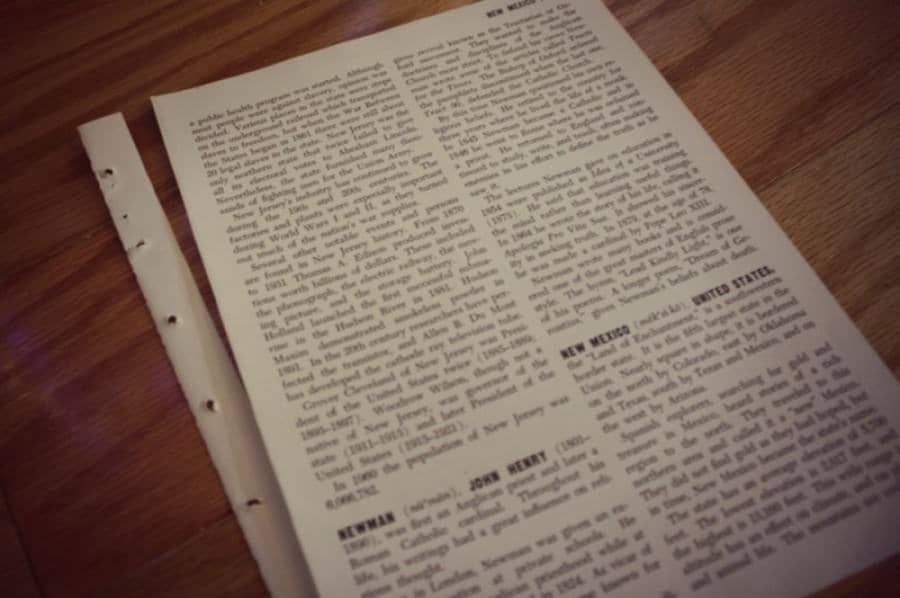 Measure outer margin, then measure the bound side of the page, draw a line from top to bottom of page and trim with paper cutter. Measure page dimensions for later use.
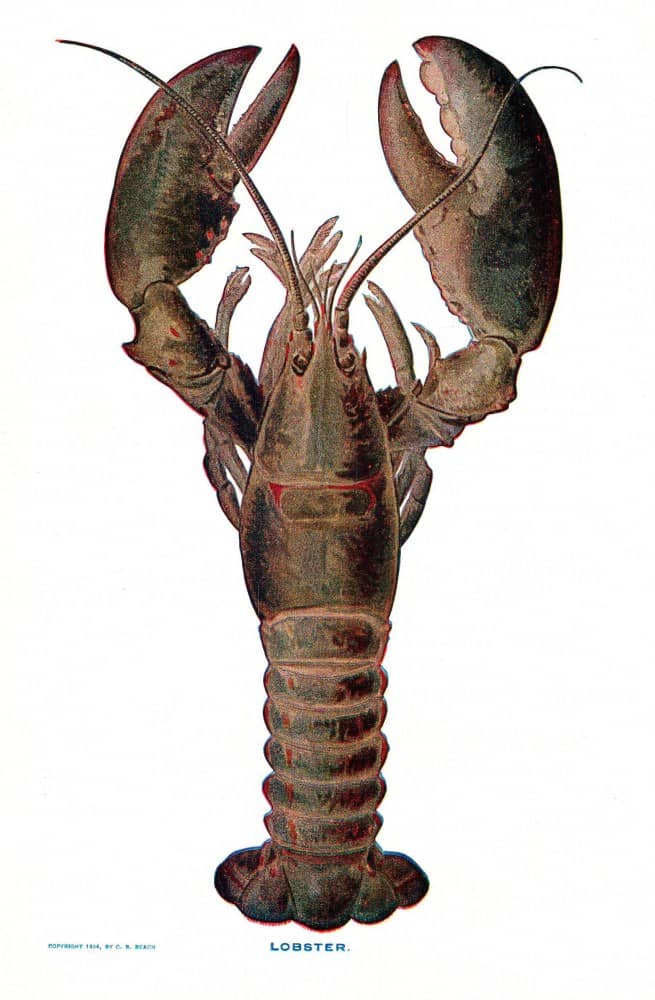
 Find an image you want to print (I suggest one with a white background).
 Open image in preferred image editing app.
 - Crop image and erase unwanted sections. Play around with exposure settings until desired effect is achieved.
 Save image in highest quality your software allows.
- In a word processor add the image adjusting the size of the image and margins of the page to fit the size of the dictionary page you are using. Printing test pages on regular printer paper until sizing and alignment are just right.
 If you are satisfied with the test page, load old book page into printer (this will most likely be upside down and top first).
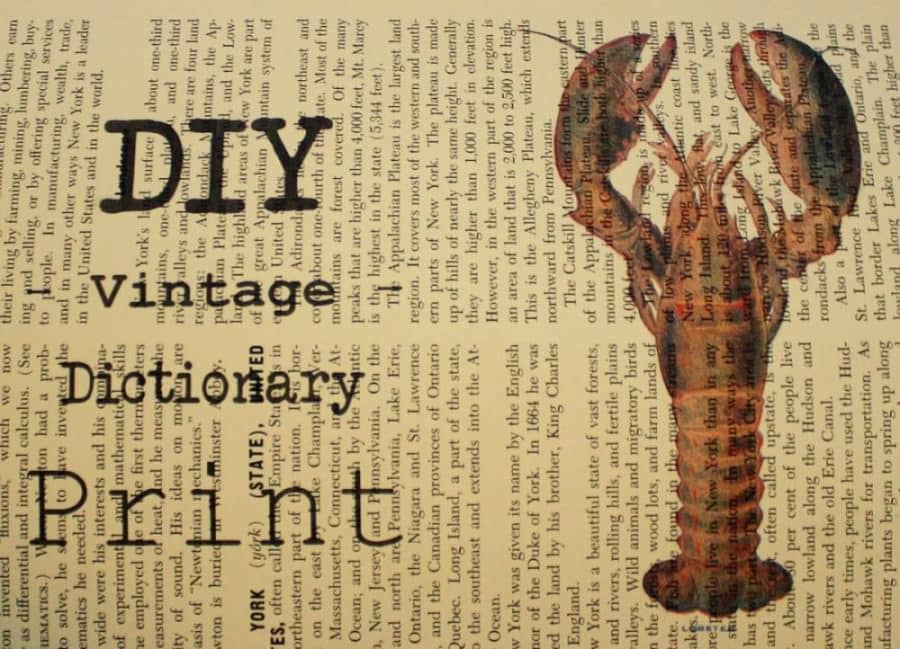
 Print and appreciate your hard work and hang the artwork you just created!
 Remove front cover, back cover, and spine from book.
 Cut through binding strings and remove any staples if present.
 Remove one section or bundle of pages and separate one page.
 Measure outer margin, then measure the bound side of the page, draw a line from top to bottom of page and trim with paper cutter. Measure page dimensions for later use.
 Find an image you want to print (I suggest one with a white background).
 Open image in preferred image editing app.
  Save image in highest quality your software allows.
 If you are satisfied with the test page, load old book page into printer (this will most likely be upside down and top first).
 Print and appreciate your hard work and hang the artwork you just created!
Sarah E Ferris
Monday 5th of October 2020
This was so extremely helpful in so many ways! If it all works out, I am extremely grateful for all of this good advice and recommendations. I have been trying to figure out how to do things like this for a while now!
Lance
Monday 12th of October 2020
Of course Sarah! I'm really glad you found it helpful. Let me know how it works out for you or if you have any issues where I can update the post to be more helpful!
Sarah Carter
Sunday 10th of March 2019
I bought some a couple months back from www.bigprintlittleprint.com they're amazing and have some super beautiful designs. Curiosity got to me and I wanted to see how I could make them myself. They used 100 year old dictionary pages but I might try it with a modern one I have laying about.
Thanks for the tutorial!
Mollie
Friday 10th of January 2020
That's cool, I will have to check them out. Thanks for commenting, did you end up trying it out?
Patty Roy
Tuesday 2nd of May 2017
LOVING THIS....after finding So many I love on Etsy, I know enough about photo editing that I think with your great post, I AM makin' my own & saving my $$! Thank you so much!
Mollie
Friday 10th of January 2020
AWESOME! Thank you for stopping by!
Emma Thompson
Thursday 22nd of May 2014
I like this idea as anniversary gift especially 1st wedding anniversary, with picture of couple on romantic text framed maybe?
Mollie
Friday 10th of January 2020
Emma, that sounds like an incredible idea! Did you make one? If so, how did it turn out?
Heather Elenor Renee Olguin
Wednesday 21st of May 2014
Thanks for saving me $30! Now to make end of the year gifts!!!!
Mollie
Friday 10th of January 2020
Glad we could help! Saving money with creative ideas is always good. Thank you for reading and commenting!