

Here’s one that one of my friends taught me, pan roasting your own green coffee beans at home on the stove! This is the basic intro way to roast coffee beans at home. There are several other ways to do it, such as with a popcorn popper, or, surprise!, with an actual coffee roasting machine.
For me at this stage in my life this is the home coffee roasting method that I use.
Time: 8 – 10 minutes
Why Roast Coffee Beans?
This is a great homemade experiment for a bunch of reasons:
- You can have exactly the coffee beans you want; from the right region to the right roast, always
- It saves a ton of money (the coffee beans I usually buy are $14 for 3/4 of a pound) green beans can be $7 or less per pound.
- It makes your house smell amazing
- Then there are the usual reasons: it’s satisfying, fun, and super easy to do!
Thinking about it, roasting coffee beans at home allows you to affordably buy fair-trade coffee while still paying less than you would for your average ethically ambiguous coffee beans. You can purchase fair-trade green coffee beans for around $7 which compares to Starbucks beans for around $13, or similarly from Stumptown for $14 per 3/4-ish pound.
What you’ll Need

- 1 pan
- Green coffee beans
- A colander
- A lid (recommended)
Also, it is a good idea to turn on the fan over your stove before you start roasting your beans. This won’t make a giant cloud of black smoke (unless you burn them), but it will put off some really nice smelling smoke as the beans roast.
Preheat Pan
Put your pan on the stove to preheat. On my gas stove I set it to five out of six, so somewhere around medium-high is about right. It might take a couple of tries to hone in on the right setting on your stove, but stick with it, it’s worth it.
The reason we want to preheat is because we want to have to beans roasted and quickly and efficiently as possible, being exposed to heat for the minimum amount of time. Everything affects the flavor.
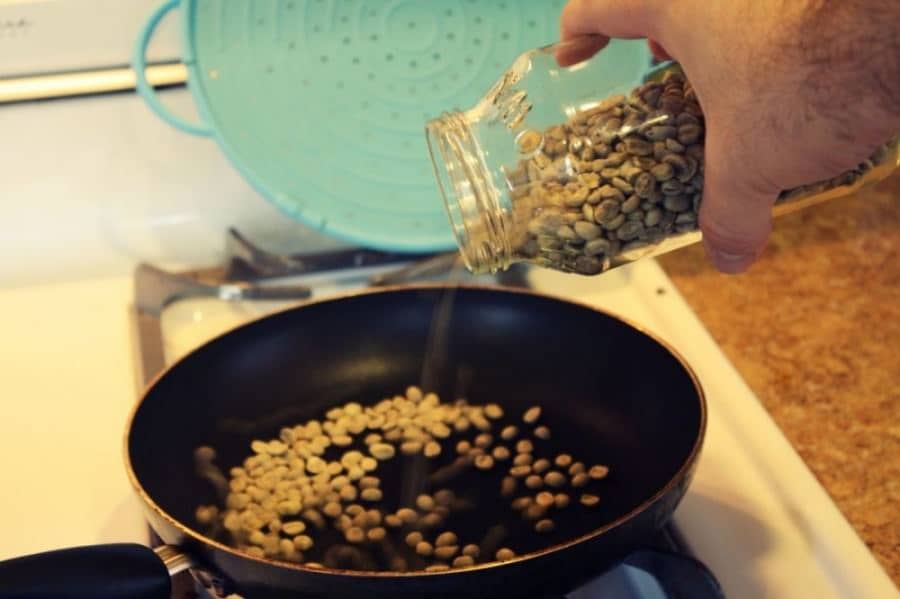
Add your green coffee beans

Pour your green coffee beans into the warmed pan. I find that pouring in enough beans so that they are about two deep is ideal for pan roasting.
In my experience only roasting a single layer makes it easier to unevenly roast and burn your beans on one side. A double layer allows each bean to spend more time out of direct contact with the bottom of the pan.
Roast your beans


Ok, here’s the fun part. Now that you’ve got you beans in the pan you’ve got to ensure that the beans cook as evenly as possible.
It’s a good idea to use a lid for two reasons.
- A lid will trap in heat, and will help your beans to roast more evenly.
- It also lets you shake up the pan a lot more without coffee beans flying all over your kitchen.
You want to agitate or stir the beans every twenty to thirty seconds so that you don’t burn the beans touching the bottom of the pan.
I use a lid that has some perforation this allows for moisture to escape at the beginning of the roast. If you lid doesn’t allow for moisture to escape wait until a minute or two into the roast, otherwise you’ll end up boiling your coffee beans, not good, I’ve done it.
Half way through the roast

This is what you beans will start to look like as they cook. Because the heat source is so one sided you can see that some of the beans are only cooked on one side. As long as you continue to agitate the beans this will even out by the end of the roast.
You’ll notice at this point the outer husks, called the chaff, are beginning to come off of the coffee beans. It looks like little papery bits. This is normal so don’t worry that your beans are shedding.
Finishing the roast
I’m not going to get into the different types of roasts here. You can check out this awesome guide from Mr. Green Beans if you want to know more. But here is the condensed version.
The lighter the roast the more caffeine. The coffee beans will produce two cracks that you can hear while they are roasting, similar to popcorn although they won’t puff up like popcorn does. You want your coffee beans to be somewhere between these two cracks. Before the first crack they will still be green, and bitter. After the second roast your gonna be drinking char.
I like a lighter roast, so I only continue to roast my been for about a minute after the first round of cracking.
Cool the coffee beans

Now that you beans are roasted it is important that you cool them down as quickly as possible. If you beans stay warm for too long it can result in their having a bad flavor when brewed.
This is where the colander comes in. I usually put my colander outside (when it’s cold) right before I start roasting my beans so that by the time I’m done roasting it’s good and cold.
Pour your coffee beans into the colander. The perforation will allow for more air to reach and help cool the beans. The metal will also draw away a lot of the heat from the beans.
Separate the chaff


This is where we separate the out husk from the coffee beans that have come off during roasting. Make sure you do this outside! Gently swirl your colander, or a bowl will work just as good, and blow on thee beans as you do. This will blow out the much lighter chaff leaving only your beautiful coffee beans behind.
Let ’em rest
After you’ve roasted you beans it is best to let them sit for at least a day. This is so that the beans can develop a nice full bodied flavor. If you brew them right away they can be a little flat, or off flavor.
You want to store roasted coffee beans in an air tight container. Moisture can ruin you nicely roasted coffee beans so keep them dry until you’re ready to brew.
That’s it, now enjoy

Now all you have to do is choose how you want to brew your beans. Will you: brew some french press, make espresso, a latte, use a percolator, or if you’re extra ambitious use a vacuum pot.
Now it’s your turn. Go buy yourself some nice green coffee beans and get roasting your own coffee today, it’s worth it.
Let me know how this homemade experiment goes for you in the comments.
-Lance
How To Pan Roast Coffee Beans on the Stove

Learn how to pan roast green coffee beans on the stove for that perfect cup of affordable morning coffee!
Materials
- Green Coffee Beans
Tools
- 1 Pan
- A colander
- A lid for pan (recommended)
Instructions
 Preheat pan over medium-high heat & add green coffee beans.
 Place perforated lid on pan and agitate coffee beans every 20-30 seconds for an even roast.
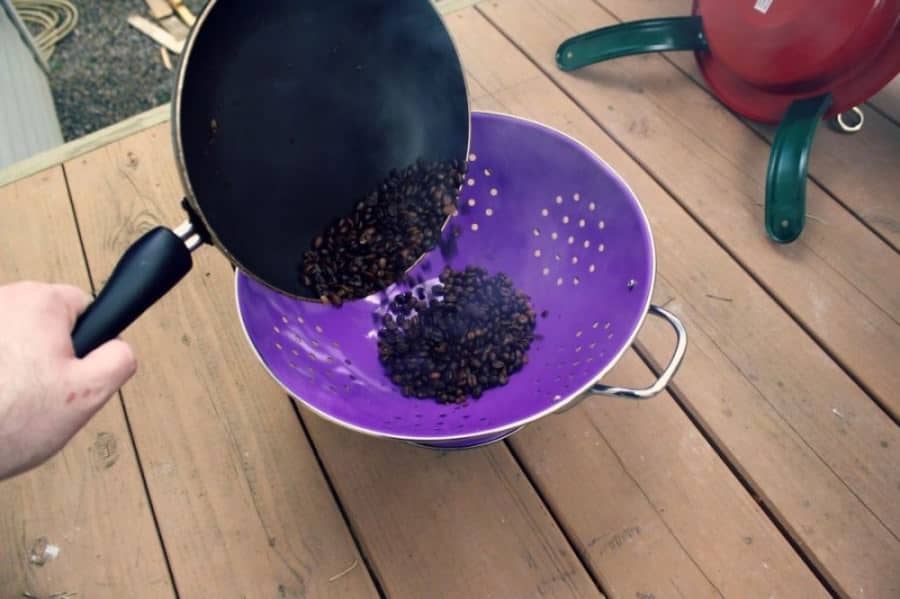 Roast coffee beans 8-10 minutes for desired level of coffee roast (light, medium, dark).
 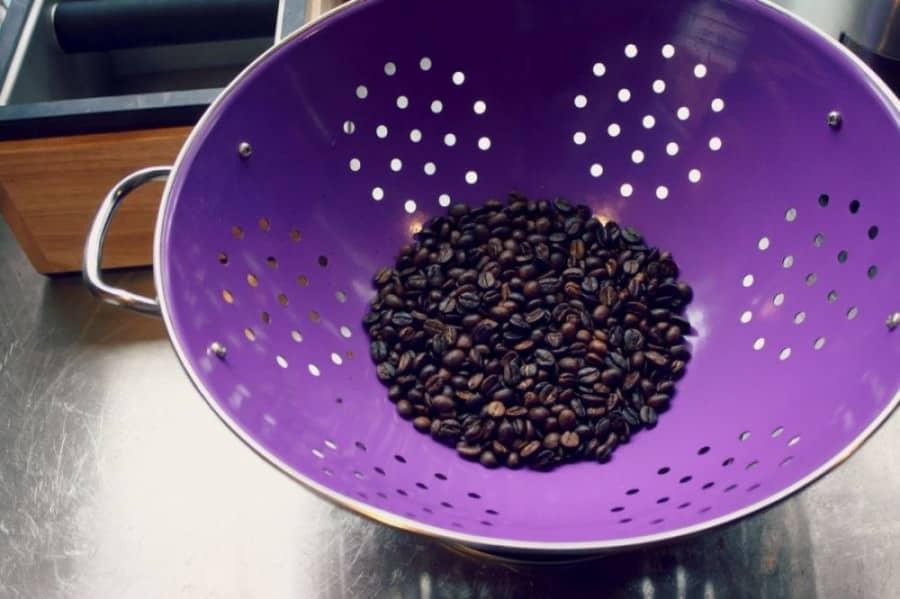 Pour coffee beans into colander to cool.
 Take colander outside, swirl and blow to remove chaf.
 Store in airtight container for at least 1 day and then enjoy!
 Preheat pan over medium-high heat & add green coffee beans.
 Place perforated lid on pan and agitate coffee beans every 20-30 seconds for an even roast.
 Roast coffee beans 8-10 minutes for desired level of coffee roast (light, medium, dark).
  Pour coffee beans into colander to cool.
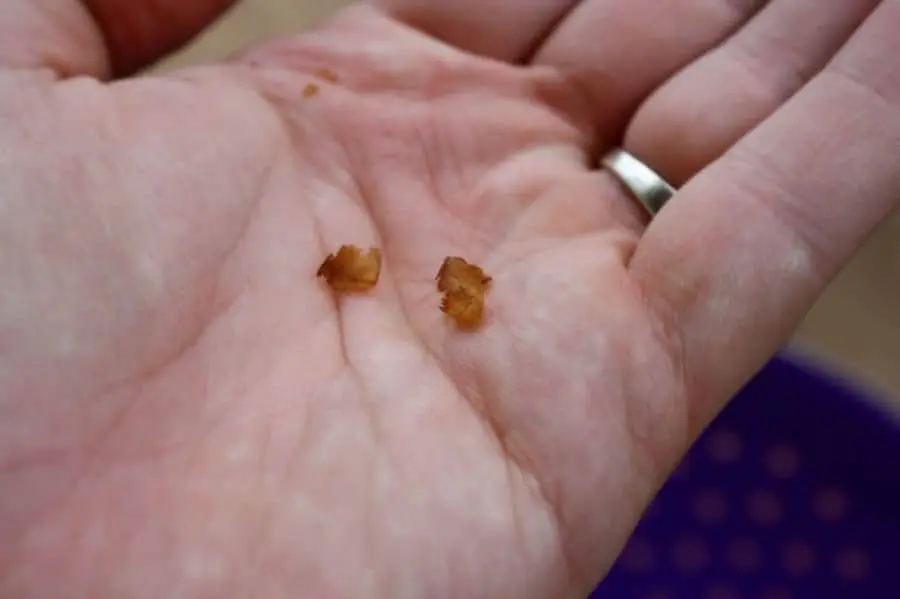 Take colander outside, swirl and blow to remove chaf.
 Store in airtight container for at least 1 day and then enjoy!