

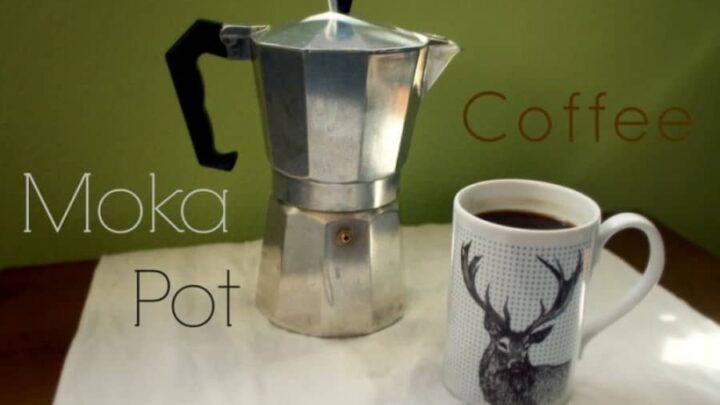
How To Use A Moka Pot
If you are a coffee lover like me you might have found yourself wondering how to use a moka pot from time to time. I love coffee, I might even drink a little too much, but I keep on drinking because it’s just too darn good. For that reason I’m always open for a new, interesting, and tasty way of brewing coffee.
For years I’ve seen moka pots lying around stashed away in grandparents cupboards or for sale at a garage sale. However, I never ever, not even once, saw anyone use a one to make coffee with. So, I finally decided to get myself a moka pot and start making espresso on my stove; here’s how to use a moka pot…
Time: 5 – 10 min.
– What You Need –

1 Moka Pot (Bialetti Moka Pot on Amazon)
A kettle
Some Good Coffee (Roast your own coffee)
– Step One –

 Preheat Your Water
Add enough water to a kettle to fill your moka pot, and put it on to boil.
You might think that preheating the water would be unnecessary since you/re just going to be putting the moka pot onto the stove to boil any way. The problem with this is that the pot will be on the stove for a lot longer if you start out with cold water. This will cause the coffee grounds to get extremely hot without any contact with water possibly causing them to cook, or even burn.
– Step Two –

 Grind Your Beans

Grinding is always an important step no matter how you are brewing it.
Without going into detail, it is always best to grind you beans just before you are ready to brew them. So make sure you water is nearly preheated before you grind your coffee beans.
When making coffee with a moka pot you want to grind you coffee beans approximately the same as you would for a drip coffee maker. The grounds should be somewhat coarse, but not big jagged chunks. Just click the image to get a better view of size grounds I’m using.
Keep playing around with the size of the grind until you find what works best for you.
– Step Three –
 Pour In The Water
Once your water if full preheated (at or near a boil) add it to the base of the moka pot. Fill the pot to the fill line inside the pot.
Be careful the pot will get extremely hot very quickly. Use a towel or a hot pad so you don’t get burned.
– Step Four –
 Add Coffee
Next add your ground coffee to the moka pot. Just mound the coffee ground in the filter and then level it off with your fingers. You can tap the pot down on the counter a few times to settle the grounds.
Don’t pack the grounds down tightly or it might prevent the moka pot from brewing properly.
– Step Five –
 Put It Together
Screw the top of the moka pot onto the bottom.
Again, be very careful not to burn yourself as the bottom will be very hot.
– Step Six –
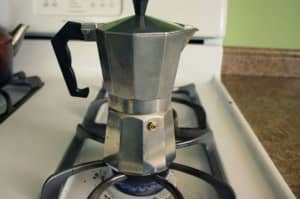

Heat
Once you’ve got the moka pot top back on its time to put it on the stove to brew.
The coffee should begin to boil up fairly soon after you put the moka pot on. At first the coffee will be a very dark brown color. The coffee will get gradually lighter as it brews. Once it becomes a light honey color you coffee is done brewing, and you’re ready for the final step!
– Step Drink –
Enjoy Coffee!
That’s it, its time to drink your delicious coffee. Moka pots make a nice strong cup of coffee, so drink up and enjoy the caffeine rush!
– How’s It Taste –
I really like how moka pot coffee turns out. I’ve heard it described as being between espresso and turkish coffee, and I’d have to say that is a fairly accurate description. Coffee from a moka pot is rich and thick, not nearly as watery as coffee from a drip machine.
A moka pot is definitely one way I will continue to make coffee often.
Let me know how making coffee in a moka pot works out for you!
-Lance
How To Use A Moka Pot To Make Delicious Coffee On The Stove

Here's how to use a moka pot to make amazingly delicious coffee at home on the stove.
Materials
- Good Coffee Beans
- Water
Tools
- Moka Pot
- Tea Kettle
- Coffee Grinder
- Scoop
- Towel
- Mug
Instructions

 Add water to tea kettle and place on stove to boil.
 Fill base of moka pot with water to the fill line.
 Scoop ground coffee beans into filter of moka pot and level off with finger.
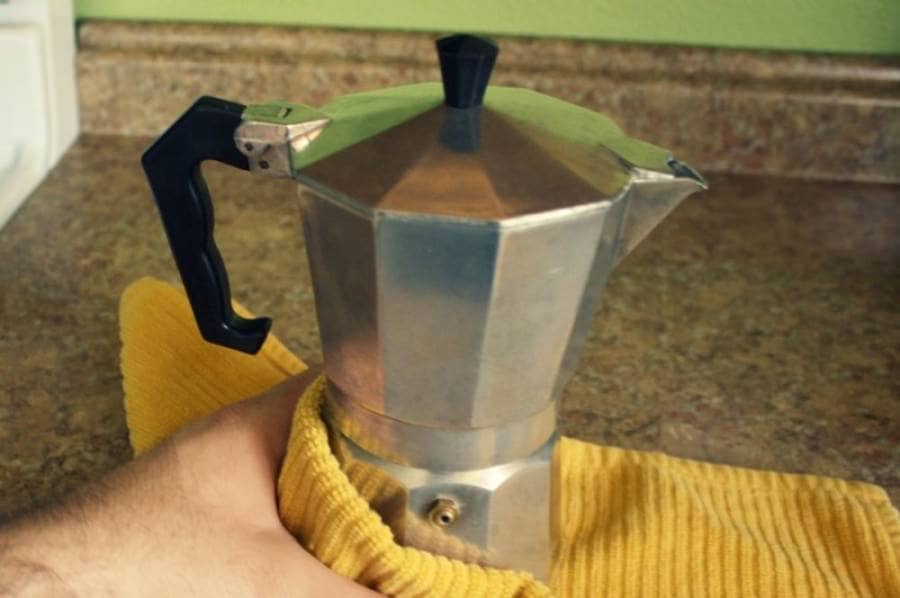 Insert filter into base of moka pot and screw top of pot back on.
 Place moka pot on stove and bring to a boil. Boil until a light honey color is achieved.
 Pour into favorite coffee mug, sit back, relax, and enjoy the caffeine rush!
Garrett
Sunday 5th of June 2016
*Meant to say steam, not stream*
Garrett
Sunday 5th of June 2016
Hello, I just started using a moka pot myself a few days ago. I finally tossed my Keurig (quite literally, lol). My first brew was from cold water, then I continued reading online about preheating the water, but never actually brought the water to a boil. I would usually just let the water stream well first.
Today though I let the water reach near boiling (probably around 200 degrees) before pouring it into the moka pot. I also kept the stove on medium heat and the brewing flow was much better and steady. The first time when I used cold water, I got slightly impatient and turned up the heat and the brew starting spitting out into the top half of the pot.
After reading your article, I now feel much more confident in using the moka pot. Some say it's small things life that bring happiness, for me it's the fact that the moka pot is not mechanical or electronic; nothing to plug in and turn on. Just simple hot water pressure makes it work.
Mollie
Thursday 23rd of January 2020
Garrett, thank you for taking the time to share your trial and error and success with the moka pot. I like how simple it is to use too!