Chalkboard Mason Jar Lids
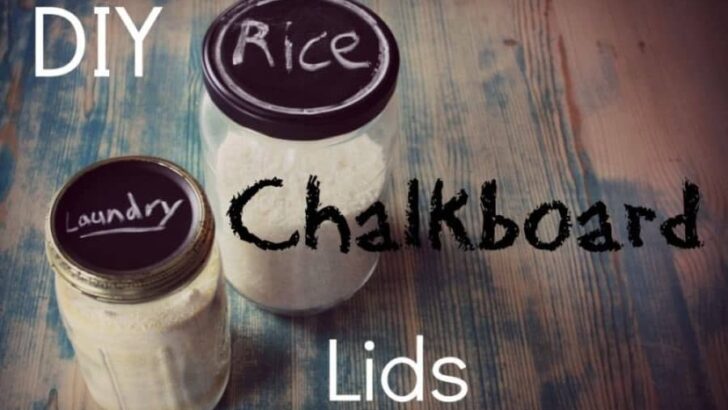
With all of the homemade things I’ve been making lately jars started piling up with various white powders inside ranging from laundry soap, to carpet freshener powder, and deodorant powder. I wanted to avoid putting laundry soap on my armpits if I could, so I decided I needed a better labelling system.
I’d seen these lids around the internet before, and I thought that they would be the perfect way to get a little more organized, so I decided to make my own. If you’re into upcycling and old jars, check out my other post how to make mason jar shakers.
Time: 5-10 minutes (plus drying time)
– What You Need –
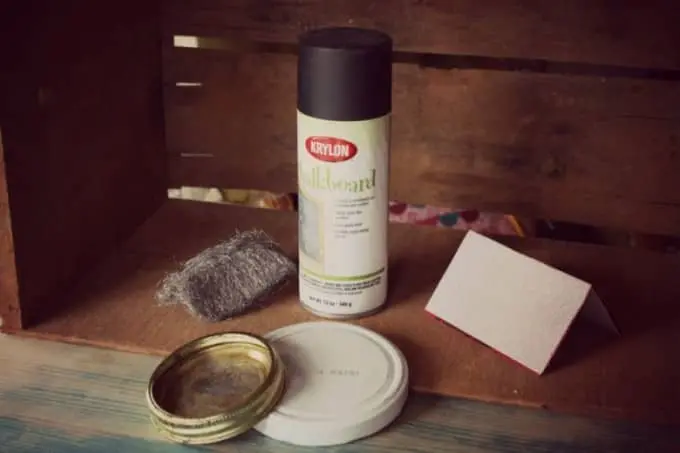 Here’s what you need:
- chalkboard spray paint
- jar lid
- steel wool or sandpaper
- and of course an old jar with a lid
Let’s paint.
– Step One –
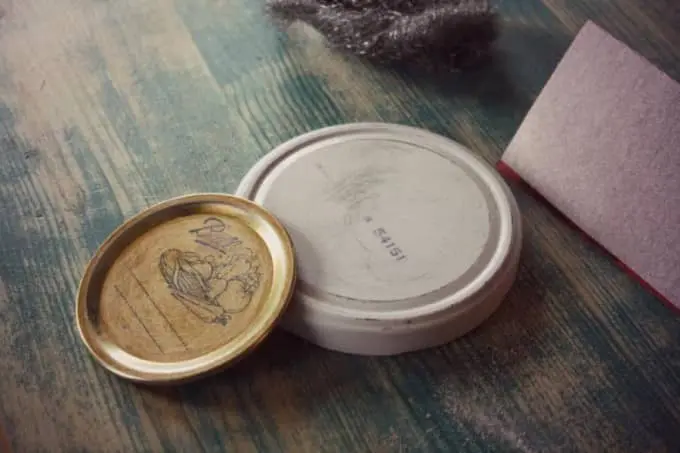
 Rough It Up
Take your steel wool or sand paper and rough up the entire surface of your lid. The goal is to rough up the surface to give the chalkboard spray paint a good surface to stick to, not to remove the paint.
Personally, I prefer steel wool for this sort of thing. Steel wool will get into the little waves of an uneven lid, and remove less paint than sandpaper. Sandpaper will work fine though if that’s all you’ve got.
– Step Two –
 Paint
Paint
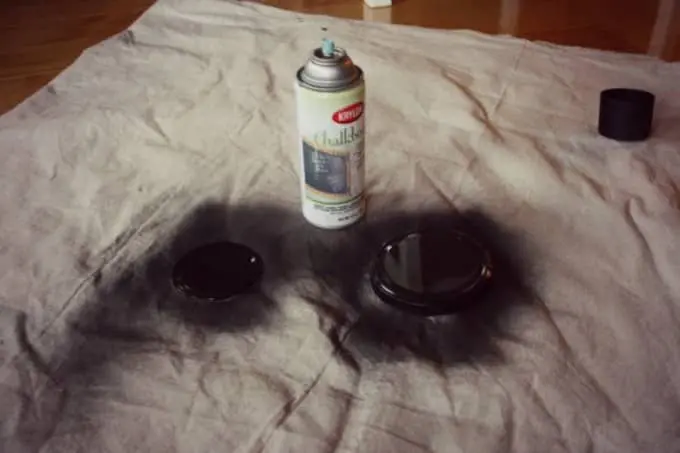
Pick a well ventilated area to spray your lids, and lay something down to catch the overspray like a drop cloth or cardboard.
Lay your lids out with plenty of space between them so you have enough room to spray around the edges.
Now, spray your lids! My spray can said to hold the paint can 10 – 14 inches away, but read yours to be sure.
When the lids don’t look shiny anymore they are dry enough for a quick second coat. This is just to make sure that the chalkboard paint has been applied completely and evenly across the entire surface of the lid.
– Step Three –
 Let Dry
That’s it, now all you have to do is let it dry. Try to keep your lids away from dust, pets, and kids if you want your paint to turn out the best it can.
My spray paint said to let it dry for x hours. I read that too late; I tried to write on one of the lids after it had been drying for about three hours, oops. I didn’t ruin the paint, but it was definitely soft, and I did end up scratching the paint slightly.
– Step Four –
 Write On It
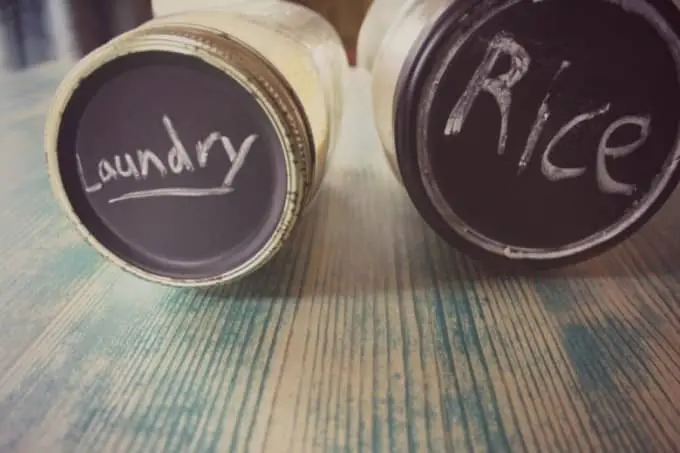
Once your lids are nice and dry you can write on them to your hearts content, over and over again.
Tip: Read the paint can carefully. My chalkboard spray paint said only to use calcium carbonate chalk (old-school chalkboard chalk). Wouldn’t you know it, something else I read too late, resulting in, you guessed it, another scratch in the paint. I have both soapstone chalk and calcium carbonate chalk. Both work fine on my chalkboard wall, but only one that will work on my jar lids. Just be sure to read before you write.
– How It Works –
My lids have held up great. The paint hasn’t chipped or scratched away. They still look great after a couple of weeks of use. Best of all they’ve done their job, and got me more organized. Thanks chalkboard paint.
*****
That’s it till next time, thanks for reading, and I hope you found this post helpful. Leave a comment to say hi, and share this post if you liked it.
-Lance

 Rough It Up
 Paint
Paint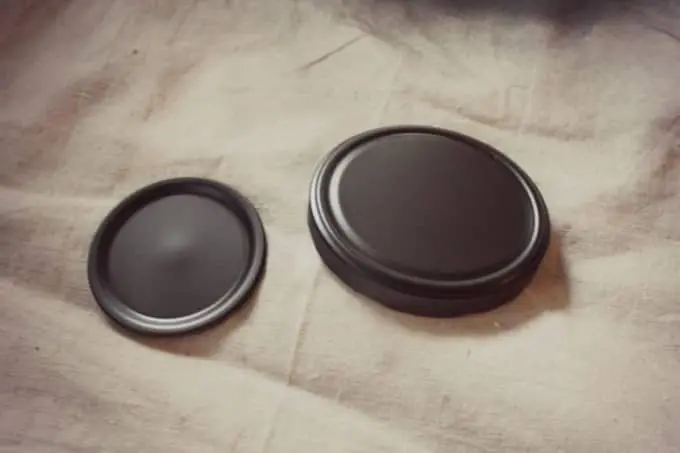 Let Dry
 Write On It
Lance
Saturday 15th of November 2014
Absolutely Kim, I'm glad you're finding my website helpful! It's true, there aren't many guys doing projects like these. I thought there should be some more fellas and figured it might as well be me!
Thanks for the comment!
Kim de Jesus
Sunday 5th of October 2014
Hi, I love this idea and I love that you're a guy doing these projects! It's nice to get a male perspective on some of these ideas. I've already learned how to make some very helpful products in the hour since I found your site. Thanks for sharing!